How to Use an AI Image Generator for Faster Creative Work
Learn how an AI image generator turns a rough concept into usable product, marketing, and social visuals—and how to get better results with a repeatable workflow.
An AI image generator can turn a rough product idea, campaign brief, or visual reference into a first image draft in minutes. The technology is useful because it shortens the distance between “we should try this direction” and “we have something concrete to review.”
The best results do not come from writing the longest prompt or generating once and accepting the first output. They come from a focused brief, a clear visual direction, and a fast review loop. This guide walks through a practical workflow for product concepts, marketing visuals, social posts, presentations, and other creative work.
What is an AI image generator?
An AI image generator is a creative tool that uses machine learning to create or transform images from instructions such as text prompts, reference images, sketches, or existing assets. Depending on the tool, you may be able to create a new scene, explore a product concept, change a background, develop a visual style, or produce several variations of one idea.
For marketers, designers, and independent creators, the main advantage is not simply speed. It is the ability to explore more directions before committing to a photo shoot, illustration, or full design pass. You can test a composition, compare moods, and make an abstract idea visible before spending time on production details.
Why use AI images for creative work?
Most visual projects need several rounds of exploration before the final direction becomes clear. Traditional production can make those early experiments expensive or slow. An AI image workflow makes the concept stage much lighter.
Common use cases include:
- Product concepts that show a possible scene, package, or campaign direction
- Social visuals adapted for different audiences, formats, or seasonal moments
- Marketing layouts that help a team compare visual hooks
- Presentation images that make an abstract idea easier to understand
- Storyboards and mood boards for a larger creative project
AI-generated images are especially useful for exploration and first drafts. Human review still matters for brand accuracy, factual claims, product details, licensing, accessibility, and the final editorial decision.
A practical AI image generator workflow
1. Start with one audience and one outcome
Before writing a prompt, decide who will see the image and what you want them to understand or do. “Make a beautiful image for our product” is too broad. A more useful brief might be:
Create a wide hero image for a productivity app aimed at small creative teams. Show a calm, organized workspace where scattered ideas become a clear visual plan. Leave clean space on the left for headline copy.
This brief gives the image a viewer, a purpose, a setting, and a layout requirement. Those details prevent the generator from filling the frame with unrelated visual ideas.
2. Describe what the viewer should see
Image tools respond better to visible subjects and relationships than to abstract marketing language. Instead of asking for “an innovative creative solution,” describe the scene:
- A designer arranges three product cards on a warm studio table
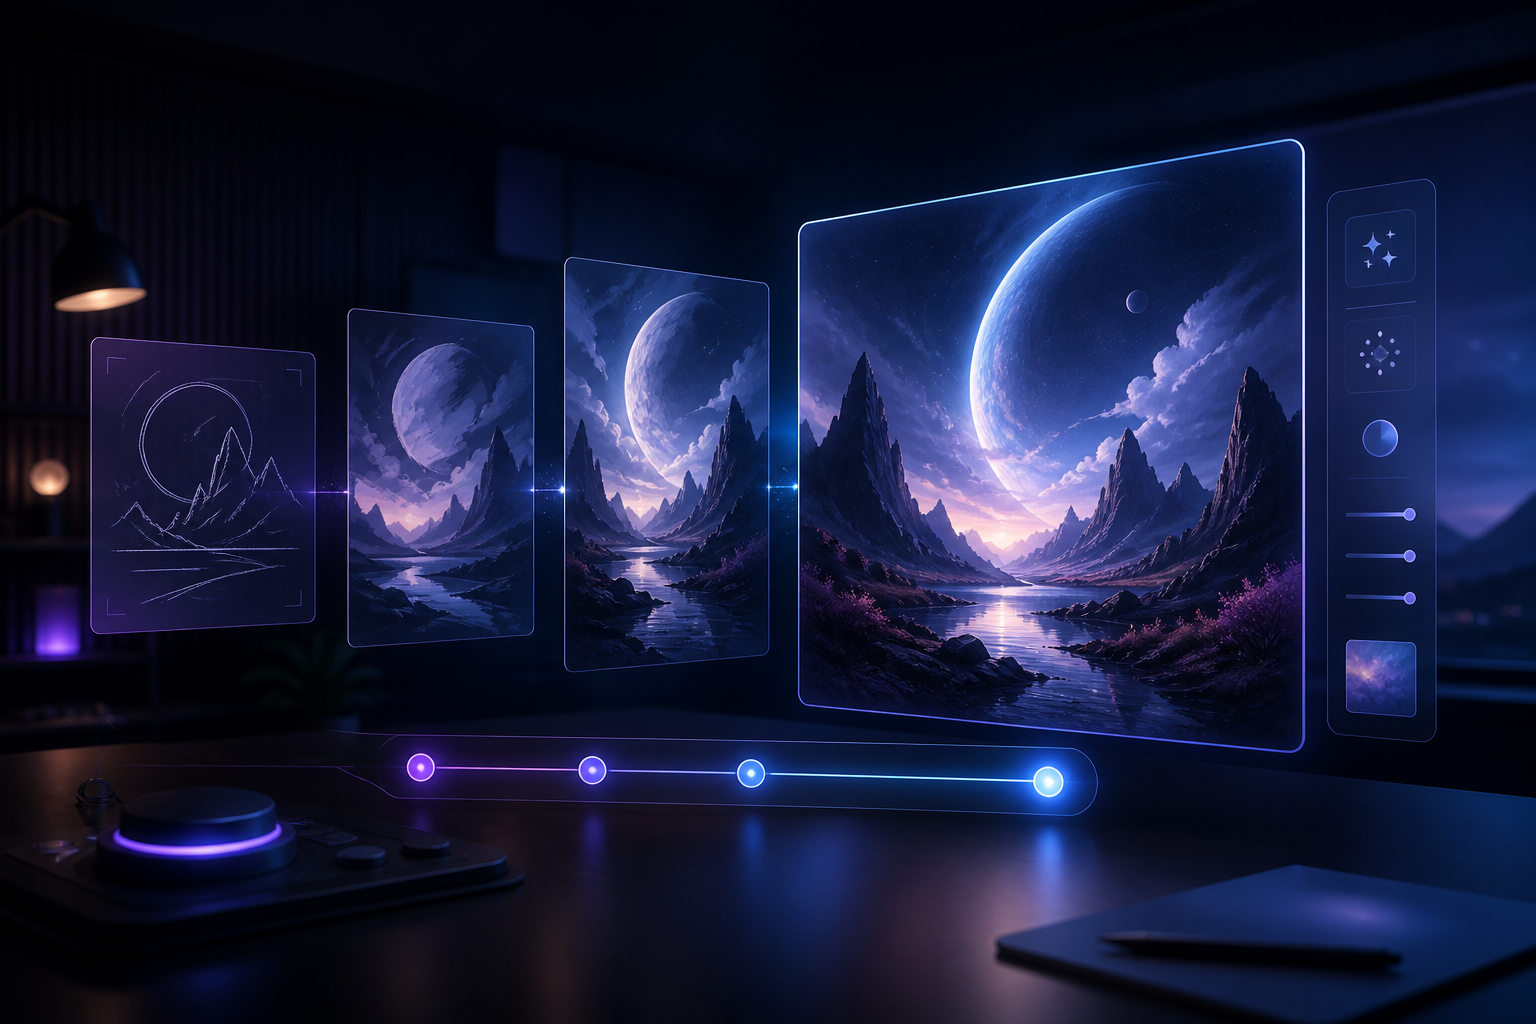
- A phone screen transitions from a rough sketch to a polished campaign visual
- A product sits in a quiet landscape with one clear light source and a defined camera angle
Then add the style, lighting, color palette, composition, and aspect ratio. Keep the first prompt focused. You can add detail after you understand the initial result.
3. Use a repeatable prompt structure
A simple structure keeps prompts easy to review and revise:
- Subject: What is the main object, person, or scene?
- Action or relationship: What is happening, changing, or being compared?
- Setting: Where does the image take place?
- Composition: What is the camera angle, focal point, and negative space?
- Style: Should it feel clean, editorial, cinematic, playful, or documentary?
- Lighting and color: What mood and palette should guide the image?
- Format and constraints: What should be included, avoided, or kept exact?
For example:
A small handmade skincare bottle on a pale stone table, surrounded by soft botanical shadows. Editorial product photography, close three-quarter view, warm morning light, muted green and cream palette, premium and natural mood. Keep the bottle shape and label area stable. No extra logos or readable text.
The exact wording will vary by tool, but the logic is portable. Give the model a scene it can visualize and boundaries it should respect.
4. Generate a short first draft
Start with one composition and one clear idea. The first output is not supposed to solve every design problem. It is a way to judge the subject, layout, lighting, and overall direction.
When reviewing the first draft, ask:
- Is the main subject obvious at a glance?
- Does the composition leave enough room for the intended copy or crop?
- Does the lighting support the message and the brand mood?
- Are important product details visible and consistent?
Do not try to fix every issue in one prompt. Change one variable at a time—such as camera angle, background, color, or object position—so you can tell what improved the result.
5. Refine the visual direction
Once the concept is promising, create focused variations rather than starting over randomly. Keep the subject and goal stable while changing one dimension:
- Composition: Try a close-up, a wide frame, or more negative space.
- Mood: Compare soft daylight, dramatic contrast, or a quiet editorial look.
- Context: Move the same product from a studio scene to a realistic use case.
- Format: Adapt the focal point for landscape, square, or vertical placement.
This approach creates a useful set of options while preserving the idea your team already understands.
6. Review the details before publishing
Generated images can look polished while still getting important details wrong. Check product shape, packaging, colors, interface labels, prices, logos, faces, hands, and any text inside the image.
Use generated visuals for mood, concept exploration, and layout testing. Add final typography, legal copy, precise UI details, and factual claims during the editing or review stage when exactness matters. Also confirm that the image is appropriate for the audience and that any required disclosure or licensing review has been completed.
How to get better results from an AI image generator
Give the model fewer decisions
If the prompt contains several locations, unrelated subjects, and multiple visual styles, the result may feel unstable. Reduce the scene to one focal point and one clear visual relationship. You can create a second image for the next idea.
Make the layout explicit
An image for a landing page needs different framing from an image for a social feed or a presentation slide. State the intended format and protect the most important subject from being cropped. If text will be added later, reserve clean negative space instead of asking the model to fill every part of the frame.
Treat generation as iteration
Save the prompts and versions that work. A small library of reusable structures—product reveal, before-and-after, editorial still life, and workflow scene—can make the next project much faster. The goal is a reliable creative loop, not a single lucky output.
Keep exact text out of the image when possible
AI-generated typography can be inconsistent. If a headline, price, legal statement, or interface label must be correct, add it in a design tool after the image is selected. This keeps the generated asset expressive while protecting the information people need to trust.
A simple checklist before you publish
- The subject and purpose are clear at a glance.
- The visual style matches the audience and channel.
- The image has the right aspect ratio and safe margins.
- Product details, claims, prices, and logos are accurate.
- Any text added to the final asset has been proofread.
- Faces, hands, objects, and edges have been checked for artifacts.
- Usage rights, disclosures, and accessibility requirements have been reviewed.
- The final crop still works on the intended device or placement.
Final takeaway
An AI image generator is most valuable when it helps you explore visual directions quickly without lowering your editorial standards. Start with one audience, one outcome, and one scene. Generate a focused first draft, review it honestly, and refine the next version with a single targeted change.
That workflow turns AI image generation from a novelty into a practical creative partner for marketing teams, designers, creators, and independent developers. With CP Video’s AI image generator, you can use the same approach to move from a rough idea to a polished visual concept in a much shorter creative cycle.